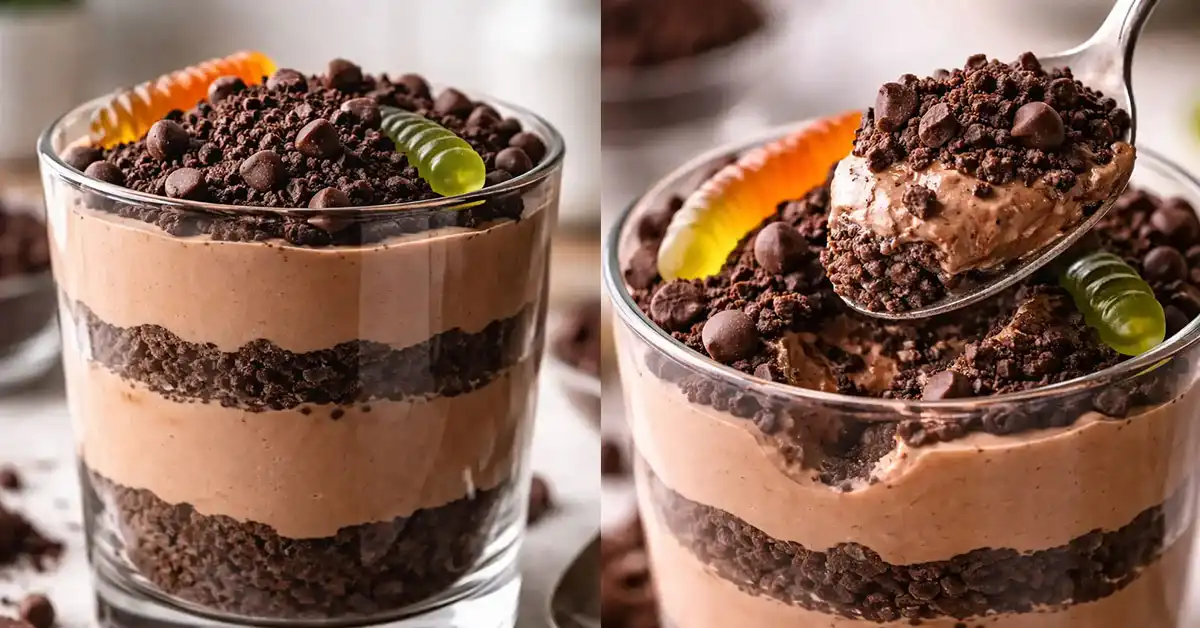
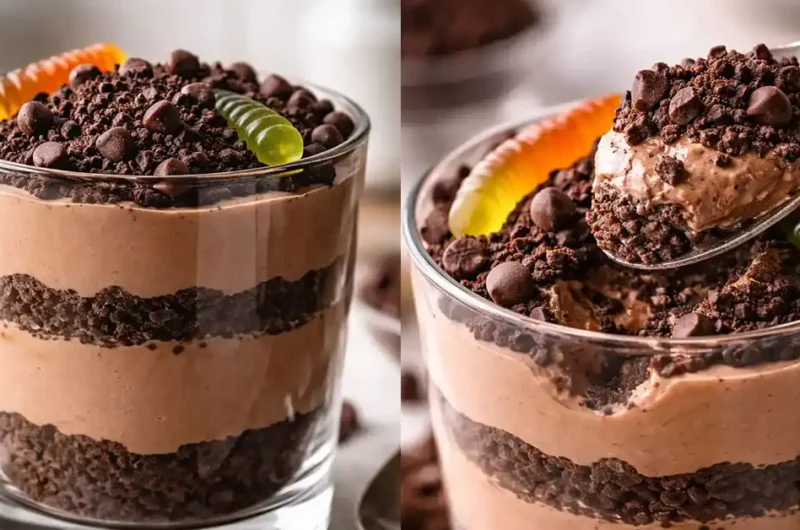
Chocolate Protein Dirt Cup is a fun and healthy twist on a classic dessert that many people already love. A traditional dirt cup is made with layers of chocolate pudding and crushed cookies that look like soil.
This version keeps the same look and taste but adds a protein boost to make it more filling and better for your body.
In a Chocolate Protein Dirt Cup, creamy chocolate layers are made using ingredients like protein powder, Greek yogurt, or high protein pudding.
These are then topped with crushed cookies to create that “dirt” effect. Some people also add toppings like dark chocolate chips or gummy worms for a playful touch.
Why I Love This Recipe
I love this recipe because it brings together great taste and simple nutrition in one easy dessert. It feels rich and chocolatey, yet it is made with better ingredients that support a balanced diet. The texture is smooth, creamy, and fun with every bite.
Ingredients for Chocolate Protein Dirt Cup
- Chocolate Protein Powder (1 scoop)
This is the main source of protein and gives a rich chocolate flavor. - Greek Yogurt (1 cup)
Adds creaminess and boosts protein while keeping the texture smooth. - Milk (1/4 cup)
Helps blend everything together. You can use dairy or plant based milk. - Cocoa Powder (1 tablespoon)
Deepens the chocolate taste and makes the dessert more rich. - Honey or Maple Syrup (1–2 tablespoons)
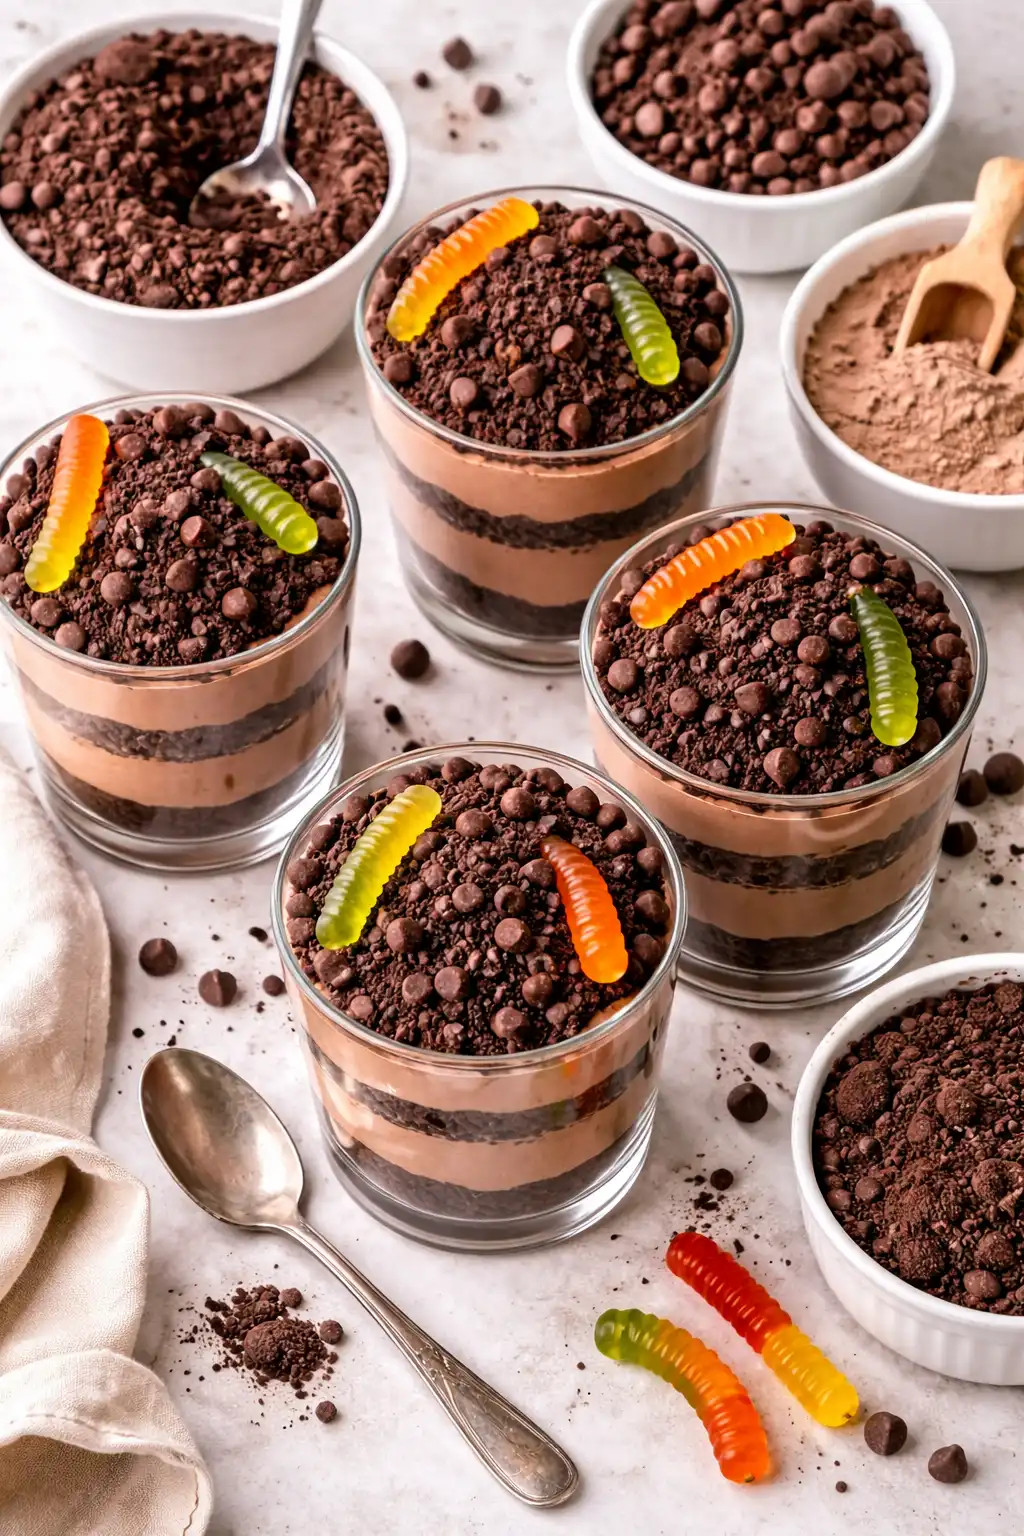
Adds natural sweetness. Adjust based on your taste. - Crushed Chocolate Cookies (1/2 cup)
Creates the “dirt” layer and gives a crunchy texture. - Dark Chocolate Chips (2 tablespoons)
Optional, but adds small bursts of chocolate in every bite. - Vanilla Extract (1/2 teaspoon)
Enhances the overall flavor and balances the chocolate. - Gummy Worms (optional, for topping)
A fun addition, especially if making this for kids. - Pinch of Salt
Helps bring out all the flavors and balances sweetness.
Ingredient Notes
- Protein Powder Choice
Use a good quality chocolate protein powder for the best taste. Whey gives a smooth texture, while plant based options work well for dairy free versions. - Greek Yogurt Substitute
You can replace Greek yogurt with blended cottage cheese for a thicker texture or use dairy free yogurt if needed. - Milk Options
Almond, oat, or soy milk all work well. Choose unsweetened versions to control sweetness. - Sweetener Adjustments
Honey, maple syrup, or even a sugar free option can be used based on your preference. - Cookie Choice
Chocolate sandwich cookies are ideal, but you can also use healthier cookie options if you prefer.
Kitchen Tools You Need
- Mixing Bowl
For combining all the ingredients smoothly. - Whisk or Spoon
Helps blend everything into a creamy mixture without lumps. - Blender (Optional)
Useful if you want an extra smooth and thick texture. - Serving Cups or Glasses
Perfect for layering and presentation. - Measuring Cups and Spoons
Ensures accurate quantities for the best results.
How to Make Chocolate Protein Dirt Cup
- Step 1: Prepare Your Base Mixture
Start by adding Greek yogurt, chocolate protein powder, cocoa powder, and milk into a mixing bowl. Stir slowly at first to combine the ingredients, then mix well until the texture becomes smooth and creamy. Make sure there are no lumps, as this will affect the final texture of your dessert. - Step 2: Adjust Sweetness and Flavor
Add honey or maple syrup to the mixture. Taste and adjust the sweetness as needed. If you want a deeper flavor, add a small amount of vanilla extract and a pinch of salt. These small additions help balance the overall taste and make the chocolate flavor richer. - Step 3: Improve Texture (Optional)
If you prefer a thicker and smoother consistency, you can blend the mixture for a few seconds. This step is optional but helpful if your protein powder tends to be grainy. A smooth base makes the dessert feel more indulgent. - Step 4: Prepare the Cookie Layer
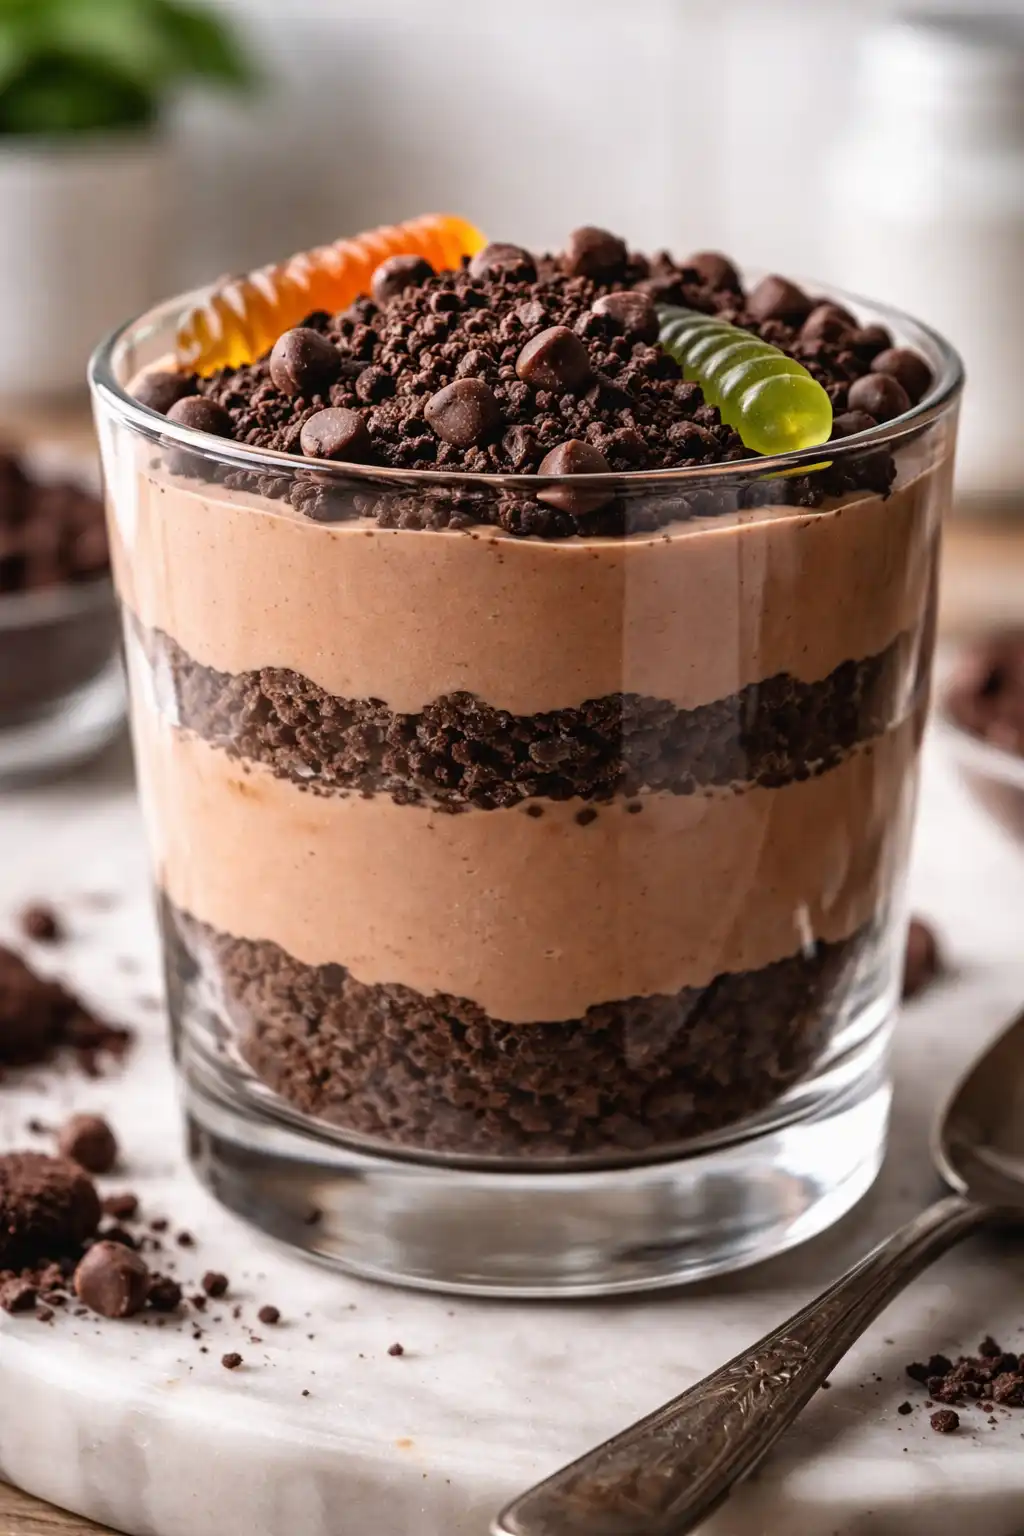
Take your chocolate cookies and crush them into fine crumbs. You can use a food processor or simply place them in a sealed bag and crush with your hands or a rolling pin. The crumbs should resemble soft soil for the classic dirt cup look. - Step 5: Start Layering the Dessert
Take a serving cup or glass and begin with a layer of the chocolate protein mixture at the bottom. Spread it evenly to create a solid base. Then add a layer of crushed cookies on top. Repeat this process to create multiple layers for a more appealing look and better texture. - Step 6: Add Extra Toppings
Sprinkle dark chocolate chips between layers or on top for added richness. If you want a fun and playful touch, place gummy worms on the top layer. This gives the dessert its classic dirt cup appearance. - Step 7: Chill Before Serving
Place the prepared cups in the refrigerator for at least 30 minutes. This helps the layers set properly and enhances the flavor. Chilling also improves the overall texture, making it more firm and enjoyable. - Step 8: Serve and Enjoy
Once chilled, your Chocolate Protein Dirt Cup is ready to serve. Enjoy it as a snack, dessert, or even a post workout treat.
Step by Step Instructions
- Step 1: Gather All Ingredients
Begin by placing all your ingredients on the counter. This helps you stay organized and makes the process smooth and quick. - Step 2: Mix the Creamy Base
In a mixing bowl, combine Greek yogurt, chocolate protein powder, cocoa powder, and milk. Stir well until the mixture becomes smooth and thick with no lumps. - Step 3: Add Sweetness and Flavor
Pour in honey or maple syrup and mix again. Add vanilla extract and a small pinch of salt to enhance the overall taste. - Step 4: Check Consistency
If the mixture feels too thick, add a small splash of milk. If it is too thin, add a bit more yogurt or protein powder to balance it. - Step 5: Crush the Cookies
Take chocolate cookies and crush them into fine crumbs. Aim for a soft, soil-like texture to create the classic dirt cup look. - Step 6: Layer the Dessert
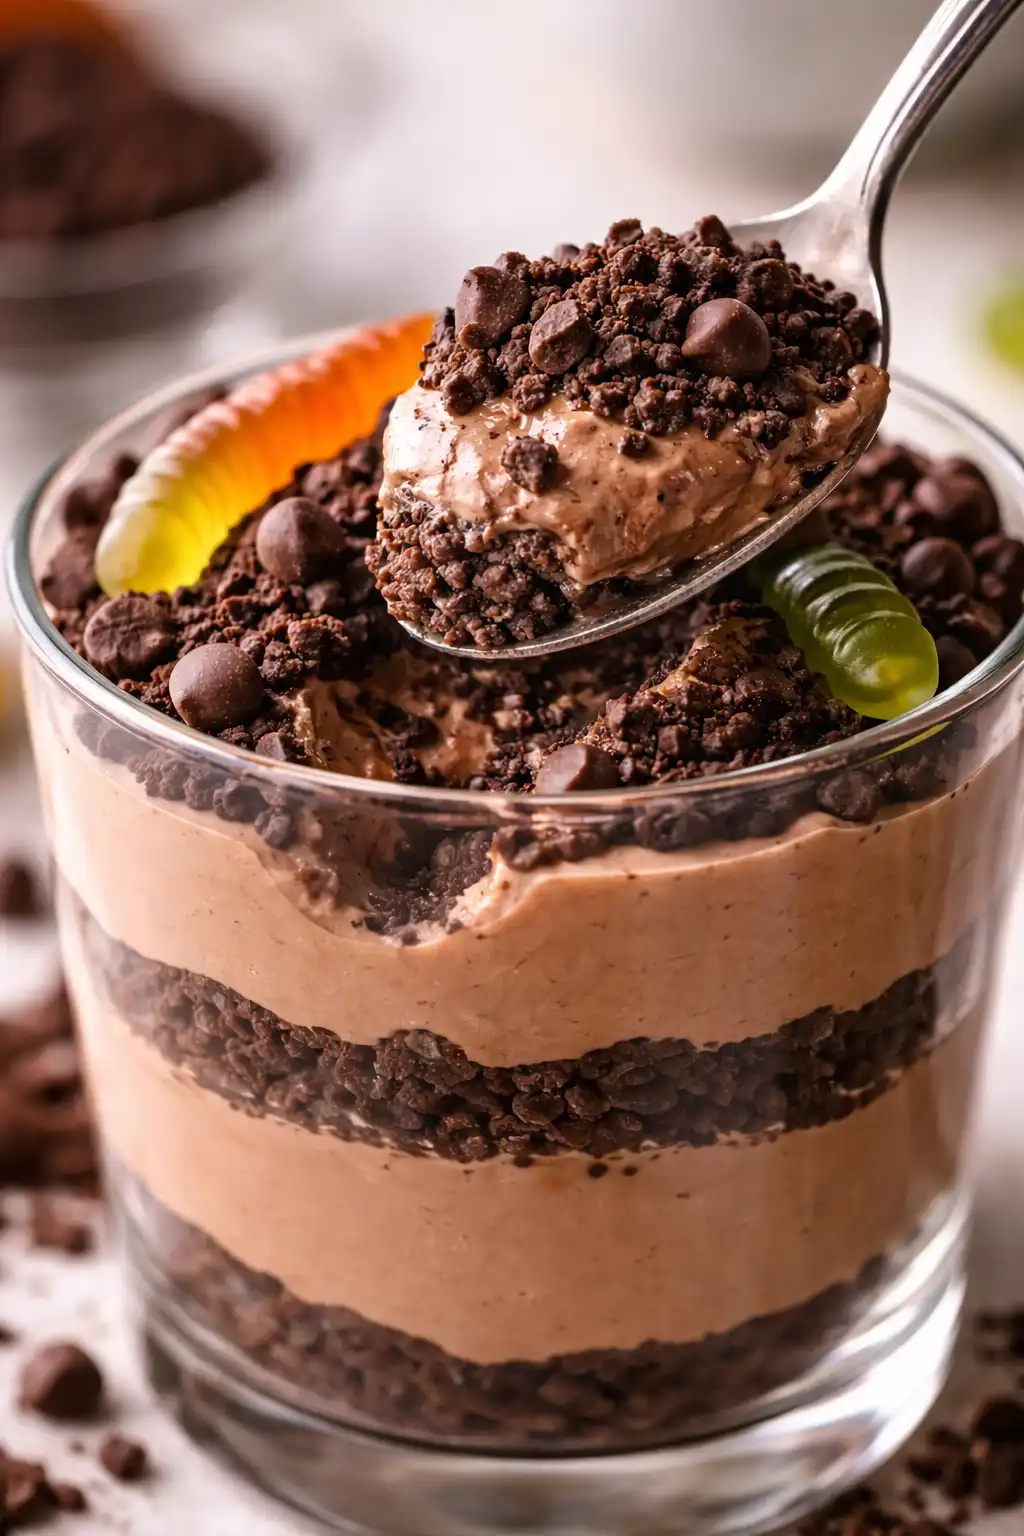
In a serving cup, add a layer of the chocolate mixture, followed by a layer of crushed cookies. Repeat the layers until the cup is filled. - Step 7: Add Final Toppings
Top with extra cookie crumbs, chocolate chips, or gummy worms for a fun finish. - Step 8: Chill and Set
Place the cups in the fridge for at least 30 minutes so the layers can firm up. - Step 9: Serve Fresh
Enjoy straight from the cup with a spoon for the best texture and taste.
Tips for Perfect Chocolate Protein Dirt Cup
- Use a Smooth Protein Powder
Choose a protein powder that mixes well and does not feel grainy. This helps create a creamy and rich texture. - Balance the Sweetness
Always taste your mixture before layering. Adjust the sweetness to your liking so it is not too strong or too bland. - Do Not Skip the Salt
A small pinch of salt makes a big difference. It enhances the chocolate flavor and balances the sweetness. - Crush Cookies Evenly
Make sure your cookie crumbs are fine and even. Large chunks can affect the texture and layering. - Layer Neatly
Use a spoon to spread each layer evenly. Clean layers make the dessert look more appealing and professional. - Chill Before Serving
Let the cups rest in the fridge for at least 30 minutes. This helps the layers set and improves the taste. - Use Clear Cups for Serving
Transparent cups show the layers clearly and make the dessert more attractive. - Adjust Texture as Needed
If your mixture is too thick, add a little milk. If it is too thin, add more yogurt or protein powder. - Add Toppings Just Before Serving
For the best texture, add toppings like cookie crumbs or gummy worms right before serving. - Keep It Fresh
Store in the fridge and enjoy within a day or two for the best flavor and consistency.
Variations
- High Protein Version
Add extra protein powder or mix in cottage cheese for a thicker and more filling dessert. - Low Sugar Option
Use sugar free sweeteners and low sugar cookies to reduce overall sweetness. - Dairy Free Version
Replace Greek yogurt with plant based yogurt and use almond or oat milk. - Vegan Version
Choose vegan protein powder and dairy free ingredients for a fully plant based option.
Serving Suggestions
- Serve chilled in small cups for the best texture
- Top with fresh berries for a light contrast
- Add a sprinkle of nuts for extra crunch
- Enjoy as a quick snack or after meal treat
Preparation Time
- Prep Time: 10 minutes
- Chilling Time: 30 minutes
- Total Time: 40 minutes
Nutrition Facts (Approx per serving)
- Calories: 220–260
- Protein: 18–22g
- Carbohydrates: 20–25g
- Fat: 6–8g
- Sugar: 8–12g
Storage Tips
- Store in an airtight container in the fridge
- Best consumed within 1 to 2 days
- Keep toppings separate until serving for best texture
- Stir slightly before eating if the mixture settles
Frequently Asked Questions (FAQs)
- Can I make Chocolate Protein Dirt Cup ahead of time?
Yes, you can prepare it a day in advance and store it in the fridge. This can even improve the texture as the layers set nicely. Just add toppings right before serving to keep them fresh. - What type of protein powder works best?
A smooth and good quality chocolate protein powder works best. Whey protein gives a creamy texture, while plant based options are great for dairy free versions. - Can I make this recipe without protein powder?
Yes, you can skip protein powder and use Greek yogurt or blended cottage cheese as the base. However, this will reduce the total protein content. - Is this recipe suitable for kids?
Yes, it is a fun and tasty option for kids. You can adjust the sweetness and add playful toppings like gummy worms to make it more enjoyable. - How do I make it thicker?
To make it thicker, add more Greek yogurt or a little extra protein powder. You can also chill it longer for a firmer texture. - Can I freeze Chocolate Protein Dirt Cups?
Freezing is not recommended as it can change the texture. It is best enjoyed fresh or chilled in the fridge. - What can I use instead of cookies?
You can use granola, crushed nuts, or healthy biscuits as an alternative to cookies for a different texture. - How long does it last in the fridge?
It stays fresh for about 1 to 2 days when stored in an airtight container. - Can I use flavored yogurt?
Yes, but it may change the overall taste. Plain or lightly flavored yogurt is usually the best choice. - Is it good for weight loss?
It can be part of a balanced diet if you control portions and use low sugar ingredients. It offers a satisfying sweet option with added protein.
Chocolate Protein Dirt Cup Recipe No Bake Easy Dessert
Course: High Protein4
servings30
minutes40
minutes300
kcalIngredients
Chocolate Protein Powder (1 scoop)
Greek Yogurt (1 cup)
Milk (1/4 cup)
Cocoa Powder (1 tablespoon)
Honey or Maple Syrup (1–2 tablespoons)
Crushed Chocolate Cookies (1/2 cup)
Dark Chocolate Chips (2 tablespoons)
Vanilla Extract (1/2 teaspoon)
Gummy Worms (optional, for topping)
Pinch of Salt
Directions
- Prepare Your Base Mixture
Start by adding Greek yogurt, chocolate protein powder, cocoa powder, and milk into a mixing bowl. Stir slowly at first to combine the ingredients, then mix well until the texture becomes smooth and creamy. Make sure there are no lumps, as this will affect the final texture of your dessert. - Adjust Sweetness and Flavor
Add honey or maple syrup to the mixture. Taste and adjust the sweetness as needed. If you want a deeper flavor, add a small amount of vanilla extract and a pinch of salt. These small additions help balance the overall taste and make the chocolate flavor richer. - Improve Texture (Optional)
If you prefer a thicker and smoother consistency, you can blend the mixture for a few seconds. This step is optional but helpful if your protein powder tends to be grainy. A smooth base makes the dessert feel more indulgent. - Prepare the Cookie Layer
Take your chocolate cookies and crush them into fine crumbs. You can use a food processor or simply place them in a sealed bag and crush with your hands or a rolling pin. The crumbs should resemble soft soil for the classic dirt cup look. - Start Layering the Dessert
Take a serving cup or glass and begin with a layer of the chocolate protein mixture at the bottom. Spread it evenly to create a solid base. Then add a layer of crushed cookies on top. Repeat this process to create multiple layers for a more appealing look and better texture. - Add Extra Toppings
Sprinkle dark chocolate chips between layers or on top for added richness. If you want a fun and playful touch, place gummy worms on the top layer. This gives the dessert its classic dirt cup appearance. - Chill Before Serving
Place the prepared cups in the refrigerator for at least 30 minutes. This helps the layers set properly and enhances the flavor. Chilling also improves the overall texture, making it more firm and enjoyable. - Serve and Enjoy
Once chilled, your Chocolate Protein Dirt Cup is ready to serve. Enjoy it as a snack, dessert, or even a post workout treat.
Notes
- Use a Smooth Protein Powder
Choose a protein powder that mixes well and does not feel grainy. This helps create a creamy and rich texture. - Balance the Sweetness
Always taste your mixture before layering. Adjust the sweetness to your liking so it is not too strong or too bland. - Do Not Skip the Salt
A small pinch of salt makes a big difference. It enhances the chocolate flavor and balances the sweetness. - Crush Cookies Evenly
Make sure your cookie crumbs are fine and even. Large chunks can affect the texture and layering. - Adjust Texture as Needed
If your mixture is too thick, add a little milk. If it is too thin, add more yogurt or protein powder.