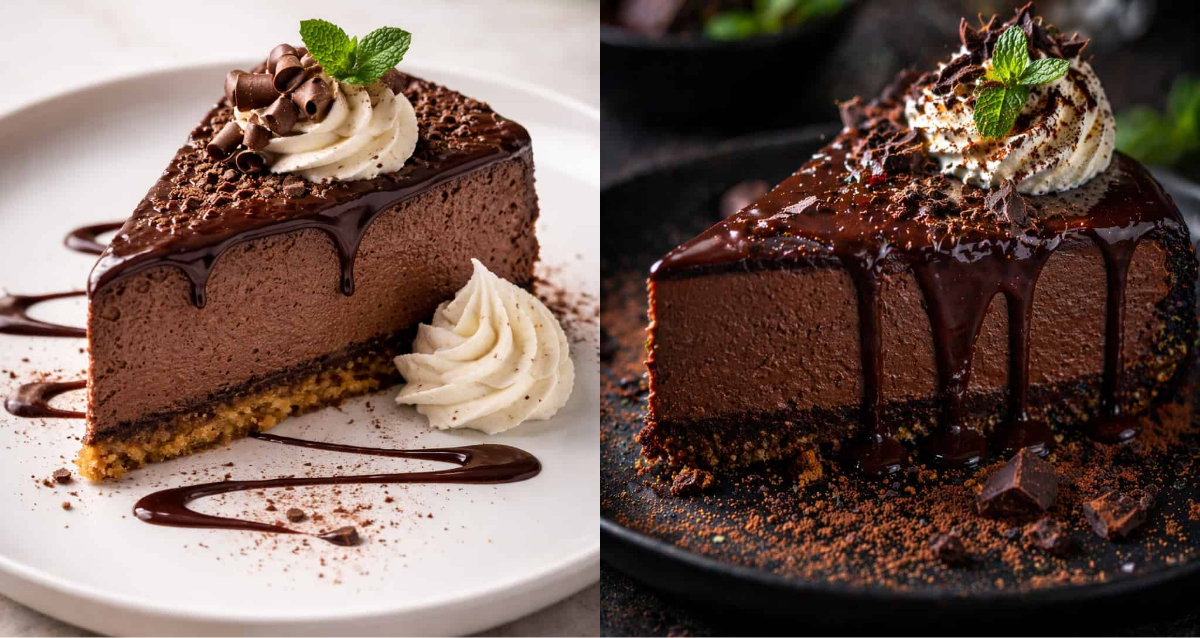
Love chocolate but avoiding sugar? This keto chocolate cheesecake is rich, creamy, and deeply satisfying. Easy to make, low carb, and perfect for dessert cravings without the guilt.
You want chocolate.
Not just a little bite… a rich, creamy, melt-in-your-mouth dessert.
But most chocolate desserts? Full of sugar and carbs.
So you say no.
Even when the craving feels impossible to ignore.
Here’s the good news.
You don’t have to give it up.
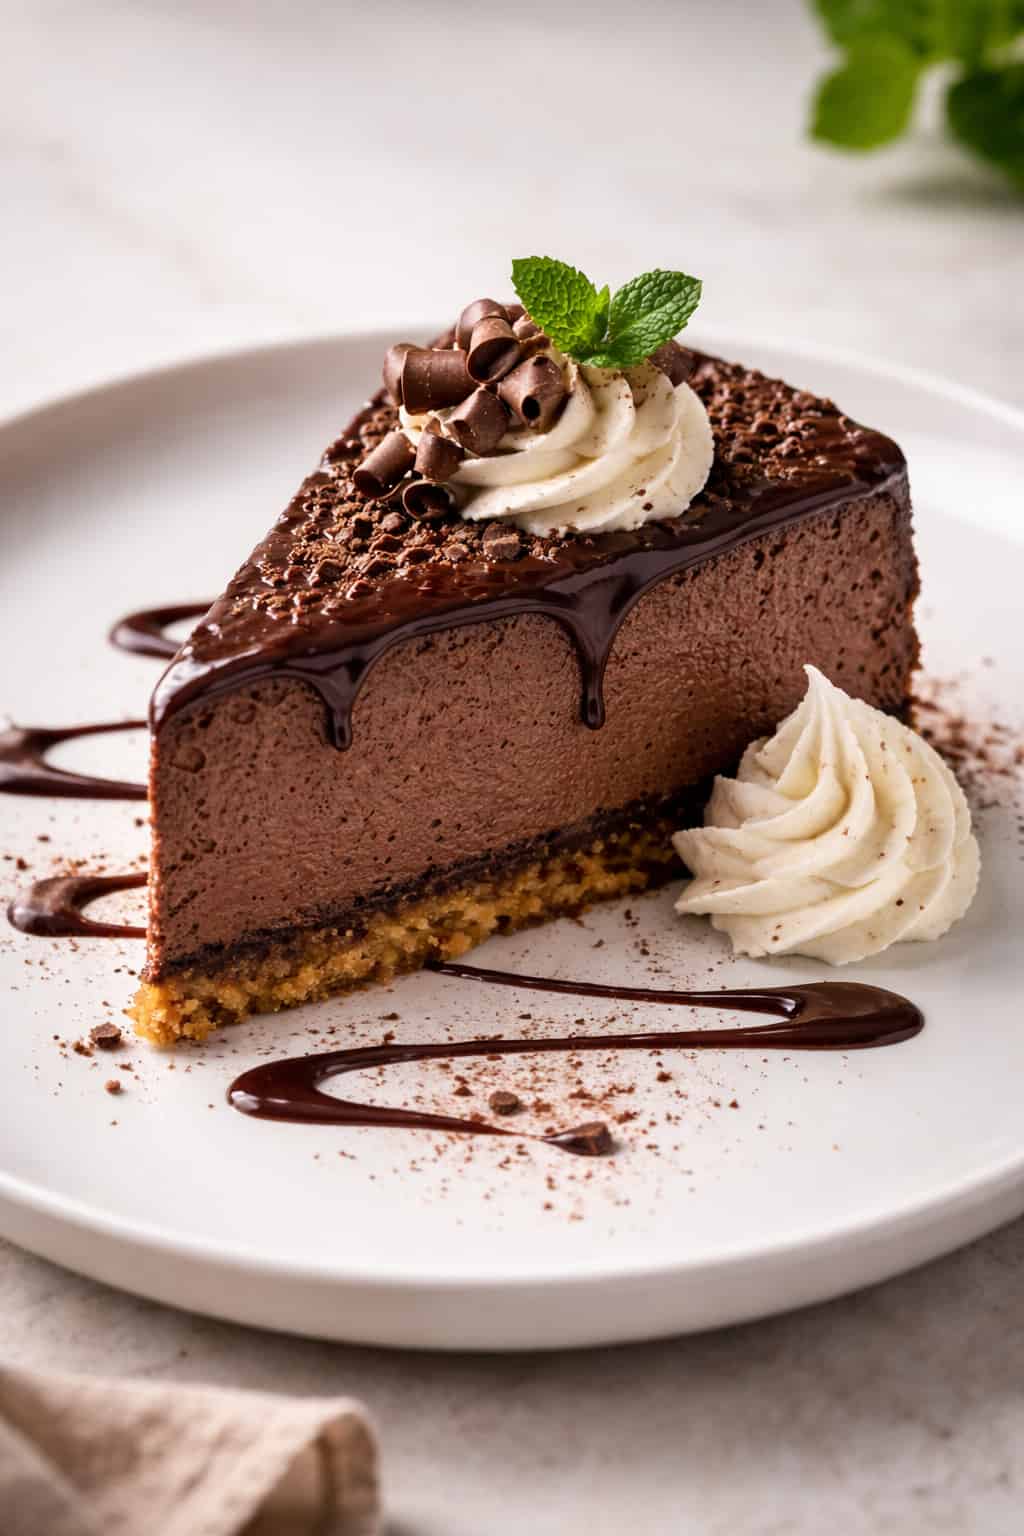
This keto chocolate cheesecake is smooth, creamy, and deeply chocolatey.
It feels indulgent… but fits perfectly into your goals.
WHAT IS THIS RECIPE?
This is a low carb version of a classic chocolate cheesecake.
Instead of sugar and regular flour, we use keto-friendly ingredients.
You still get that soft, creamy texture and rich chocolate flavor.
It’s thick, smooth, and feels like a bakery-style dessert—but healthier.
WHY YOU WILL LOVE THIS RECIPE
- Low carb and keto-friendly – Enjoy dessert without guilt
- Rich chocolate flavor – Deep, smooth, and satisfying
- Creamy texture – Soft, silky, and melt-in-your-mouth
- Easy to make – Simple steps anyone can follow
- Great for special occasions – Feels fancy and indulgent
- Make ahead friendly – Tastes better the next day
- Budget-friendly – Uses simple ingredients
Here’s where most people get this wrong…
They rush the baking or skip chilling—and the cheesecake turns out cracked or too soft.
INGREDIENTS
Crust:
- 1 1/2 cups almond flour
Fine texture works best for smooth crust. - 1/4 cup melted butter
Helps bind the crust. - 2 tablespoons keto sweetener
Adds light sweetness.
Filling:
- 2 cups cream cheese (softened)
Must be soft for a smooth batter. - 1/2 cup keto sweetener
Powdered works best. - 2 large eggs
Helps set the cheesecake. - 1/2 cup heavy cream
Adds richness. - 1/3 cup unsweetened cocoa powder
Gives deep chocolate flavor. - 1 teaspoon vanilla extract
Enhances taste.
Optional:
- Sugar-free chocolate chips
- Whipped cream for topping
HOW TO MAKE (STEP-BY-STEP)
1. Prepare the crust
Preheat your oven to 175°C (350°F). In a bowl, mix almond flour, melted butter, and sweetener. Stir until crumbly but slightly moist. Press firmly into a lined baking pan. Make it even and compact. Bake for 8–10 minutes until lightly golden. Let it cool completely before adding the filling.
2. Make the cheesecake base
In a large bowl, add softened cream cheese and sweetener. Mix slowly until smooth and creamy. There should be no lumps. This step is very important. A smooth base creates a silky cheesecake texture.
3. Add wet ingredients
Add eggs one at a time, mixing gently after each. Then pour in heavy cream and vanilla extract. Mix slowly until combined. The batter should look thick, smooth, and slightly glossy.
4. Add chocolate flavor
Add cocoa powder and mix gently until fully combined. The batter should turn rich brown and smooth. Make sure there are no dry spots.
5. Pour and bake
Pour the batter over the cooled crust. Smooth the top with a spatula. Bake for 40–50 minutes. The edges should be set, but the center should still jiggle slightly.
6. Cool and chill
Turn off the oven and leave the door slightly open. Let the cheesecake cool slowly inside. Then refrigerate for at least 4 hours or overnight. The texture will become firm and creamy.
This small trick makes a huge difference…
Slow cooling prevents cracks and keeps the cheesecake smooth.
PRO TIPS
- Always use room temperature cream cheese.
- Mix slowly to avoid air bubbles.
- Bake on low, steady heat.
- Let cheesecake cool gradually.
- Chill fully before slicing.
- Use parchment paper for easy removal.
- Add cocoa gradually for smooth mixing.
- Clean the knife before each slice.
- Store properly for the best texture.
COMMON MISTAKES TO AVOID
- Cold cream cheese – causes lumps
- Overmixing – leads to cracks
- Overbaking – dries out texture
- Skipping chill time – soft slices
- Too much cocoa – bitter taste
- Not lining pan – sticking issues
- Cutting too early – messy slices
VARIATIONS / CUSTOMIZATION IDEAS
- High protein version – Add protein powder
- No-bake version – Use gelatin instead of baking
- Chocolate chip version – Add sugar-free chips
- Nut crust version – Use crushed nuts
- Mocha version – Add a little coffee powder
Now let’s make it even better…
SERVING IDEAS
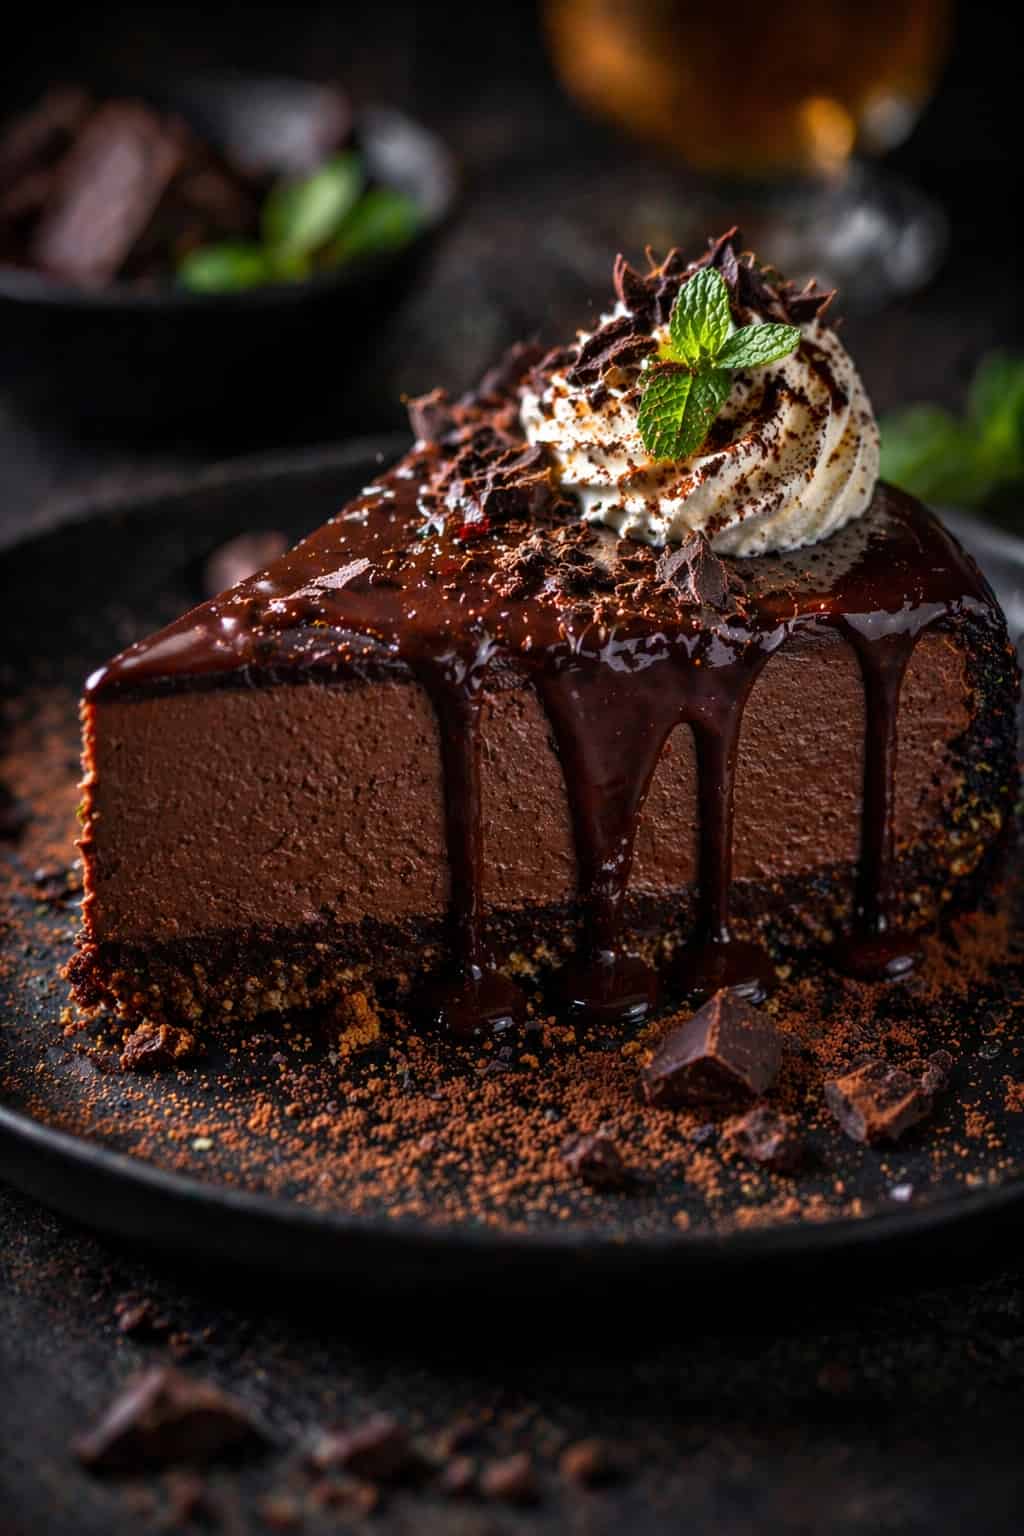
Serve chilled with whipped cream on top. Add chocolate drizzle for extra flavor. Enjoy with coffee for a cozy dessert moment.
STORAGE & REHEATING
Store in the fridge for up to 5 days. Keep covered to prevent drying. Do not reheat—serve chilled for the best texture.
NUTRITION FACTS (Approximate)
Calories: 250
Carbs: 4g net carbs
Protein: 6g
Fat: 22g
QUICK SUMMARY (SCANNABLE)
- Rich keto cheesecake
- Deep chocolate flavor
- Easy to make
- Low carb dessert
- Perfect for special occasions
WHEN TO EAT THIS
Perfect after dinner when cravings hit. Great for celebrations or special treats. Ideal for late-night chocolate cravings without guilt.
Smooth, rich, and satisfying every time.
The Ultimate Keto Chocolate Cheesecake (Rich, Creamy & Guilt-Free!)
Course: Uncategorized4
servings30
minutes40
minutes250
kcalIngredients
1 1/2 cups almond flour
1/4 cup melted butter
2 tablespoons keto sweetener
2 cups cream cheese (softened)
1/2 cup keto sweetener
2 large eggs
1/2 cup heavy cream
1/3 cup unsweetened cocoa powder
1 teaspoon vanilla extract
Directions
- Preheat your oven to 175°C (350°F). In a bowl, mix almond flour, melted butter, and sweetener. Stir until crumbly but slightly moist. Press firmly into a lined baking pan. Make it even and compact. Bake for 8–10 minutes until lightly golden. Let it cool completely before adding the filling.
- In a large bowl, add softened cream cheese and sweetener. Mix slowly until smooth and creamy. There should be no lumps. This step is very important. A smooth base creates a silky cheesecake texture.
- Add eggs one at a time, mixing gently after each. Then pour in heavy cream and vanilla extract. Mix slowly until combined. The batter should look thick, smooth, and slightly glossy.
- Add cocoa powder and mix gently until fully combined. The batter should turn rich brown and smooth. Make sure there are no dry spots.
- Pour the batter over the cooled crust. Smooth the top with a spatula. Bake for 40–50 minutes. The edges should be set, but the center should still jiggle slightly.
- Turn off the oven and leave the door slightly open. Let the cheesecake cool slowly inside. Then refrigerate for at least 4 hours or overnight. The texture will become firm and creamy.
Notes
- Chill fully before slicing.
- Overmixing – leads to cracks
- Cutting too early – messy slices
- Store properly for the best texture.